How to Clean Your Herb Grinder
A sticky herb grinder can lead to a slow roll and frustrating session. The teeth can catch, the lid can stick, and you will be left breaking your dry herbs for your dry herb vaporizer down by hand instead. In order to prevent this sticky situation, it is best to clean your grinder on a regular basis. However, if you are not the clean-freak type and are not sure where to begin, we have you covered. Read on to learn how to deep clean your most essential herb accessory.

1. Gather Your Supplies
You will need a small, but specific set of supplies to deep clean your herb grinder. These supplies include:
- Isopropyl alcohol
- Cotton swabs
- Small wire brush
- Toothpicks
You will also need a non-porous container, bowl, or a resealable plastic bag large enough to hold your grinder. We prefer to use a clear, reusable, plastic food storage container with a lid for this cleaning process, for reasons specified below. You will also need your herb grinder, of course!
2. Disassemble Your Grinder
The most obvious part of deep cleaning comes next -- you need to disassemble your grinder. Break it down to as many pieces as possible, without breaking it. Some grinders consist of just two parts, while others have upwards of four when you include the lid, collection chamber, screen, bottom compartment, and scraping tool. Breaking it down allows you to reach every nook and cranny possible during the cleaning process.

3. Dissolve Any Residue
Once you have your grinder broken out into smaller pieces, you will want to place them in your container or reusable bag. Then you will want to pour in enough isopropyl alcohol, commonly known as rubbing alcohol, over your grinder pieces to submerge them completely. It is best to not have any pieces touching so that every edge of your grinder can come in full contact with the rubbing alcohol.
Allow the pieces of your grinder to sit, fully submerged, in rubbing alcohol for a few hours to overnight. As mentioned before, we prefer to use a clear container that has a lid or is sealable. This is so you don't have to worry about debris falling into the mix, your cat sticking a paw in, or the distinct scent of rubbing alcohol wafting around your house. We also prefer to allow the pieces to soak overnight when possible since this will make the next step a lot easier to complete.
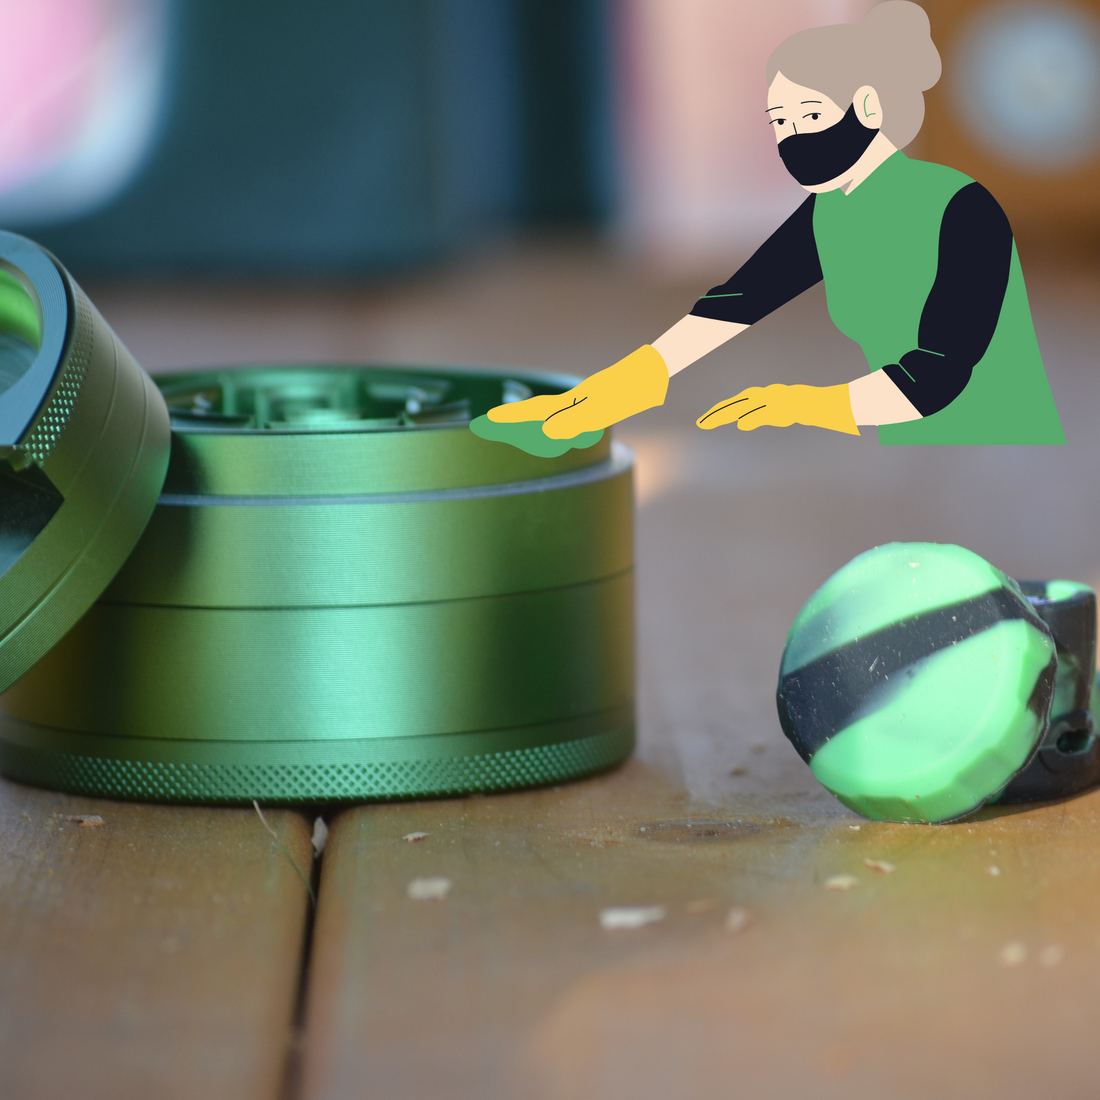
4. Scrub Grinder Clean
Once your herb grinder has been thoroughly soaked in rubbing alcohol, the residue should be loose. If you give the lidded container or sealed bag a shake, you should see some of this greenish residue floating around in the alcohol. This is a good sign that your grinder has soaked for long enough, and it is time to take the pieces out for the final deep cleaning step.
As you pull each piece out of the container, take your small wire brush, toothpicks, and cotton swabs and get scrubbing! First, use the brush to get any large, sticky chunks of residue off the grinder’s "teeth" and sides. If you do not have a small wire brush handy, toothpicks will also work just fine for this purpose. In fact, they work even better when it comes to scraping out the small holes that your herb falls through after it's ground up. Be sure to carefully clear each hole, as well as clean-out the threading for grinders with more than two layers. It is a little trickier to scrub the screen in multi-layered grinders, and you may want to allow this part to soak for longer than the rest.
If there is some residue still sticking around, dunk a cotton swab in the rubbing alcohol and apply a little elbow grease to that piece. Or you can presoak the more stubborn parts of your grinder in rubbing alcohol until the residue breaks down more. Once all the visible residue is removed, give the grinder pieces a wipe with a clean, dry cotton swab. If the pieces still seem a bit damp, then lay them out on a paper towel to dry completely.

5. Reassemble Your Grinder
Once your grinder pieces have dried completely, you can reassemble them together. There are a wide variety of grinders on the market, and it’s important to note that the above cleaning method is intended for the standard metal herb grinder.
Now that your grinder is shiny and clean, you will be impressed by how well it works during your next session. If not though, you may have to repeat the steps above, or it might be time to look at replacing your well-loved herb grinder. You can check out a wide variety to fit your style at our awesome online vape pen shop!
Related Blog Posts
SHARPSTONE HAND CRANK GRINDER REVIEW